Looking for a fun creative budget craft DIY project for your kids
That also can be turned into a fancy dress costume and your kids can have hours of fun pretending to be that animal, while you can get a rest?
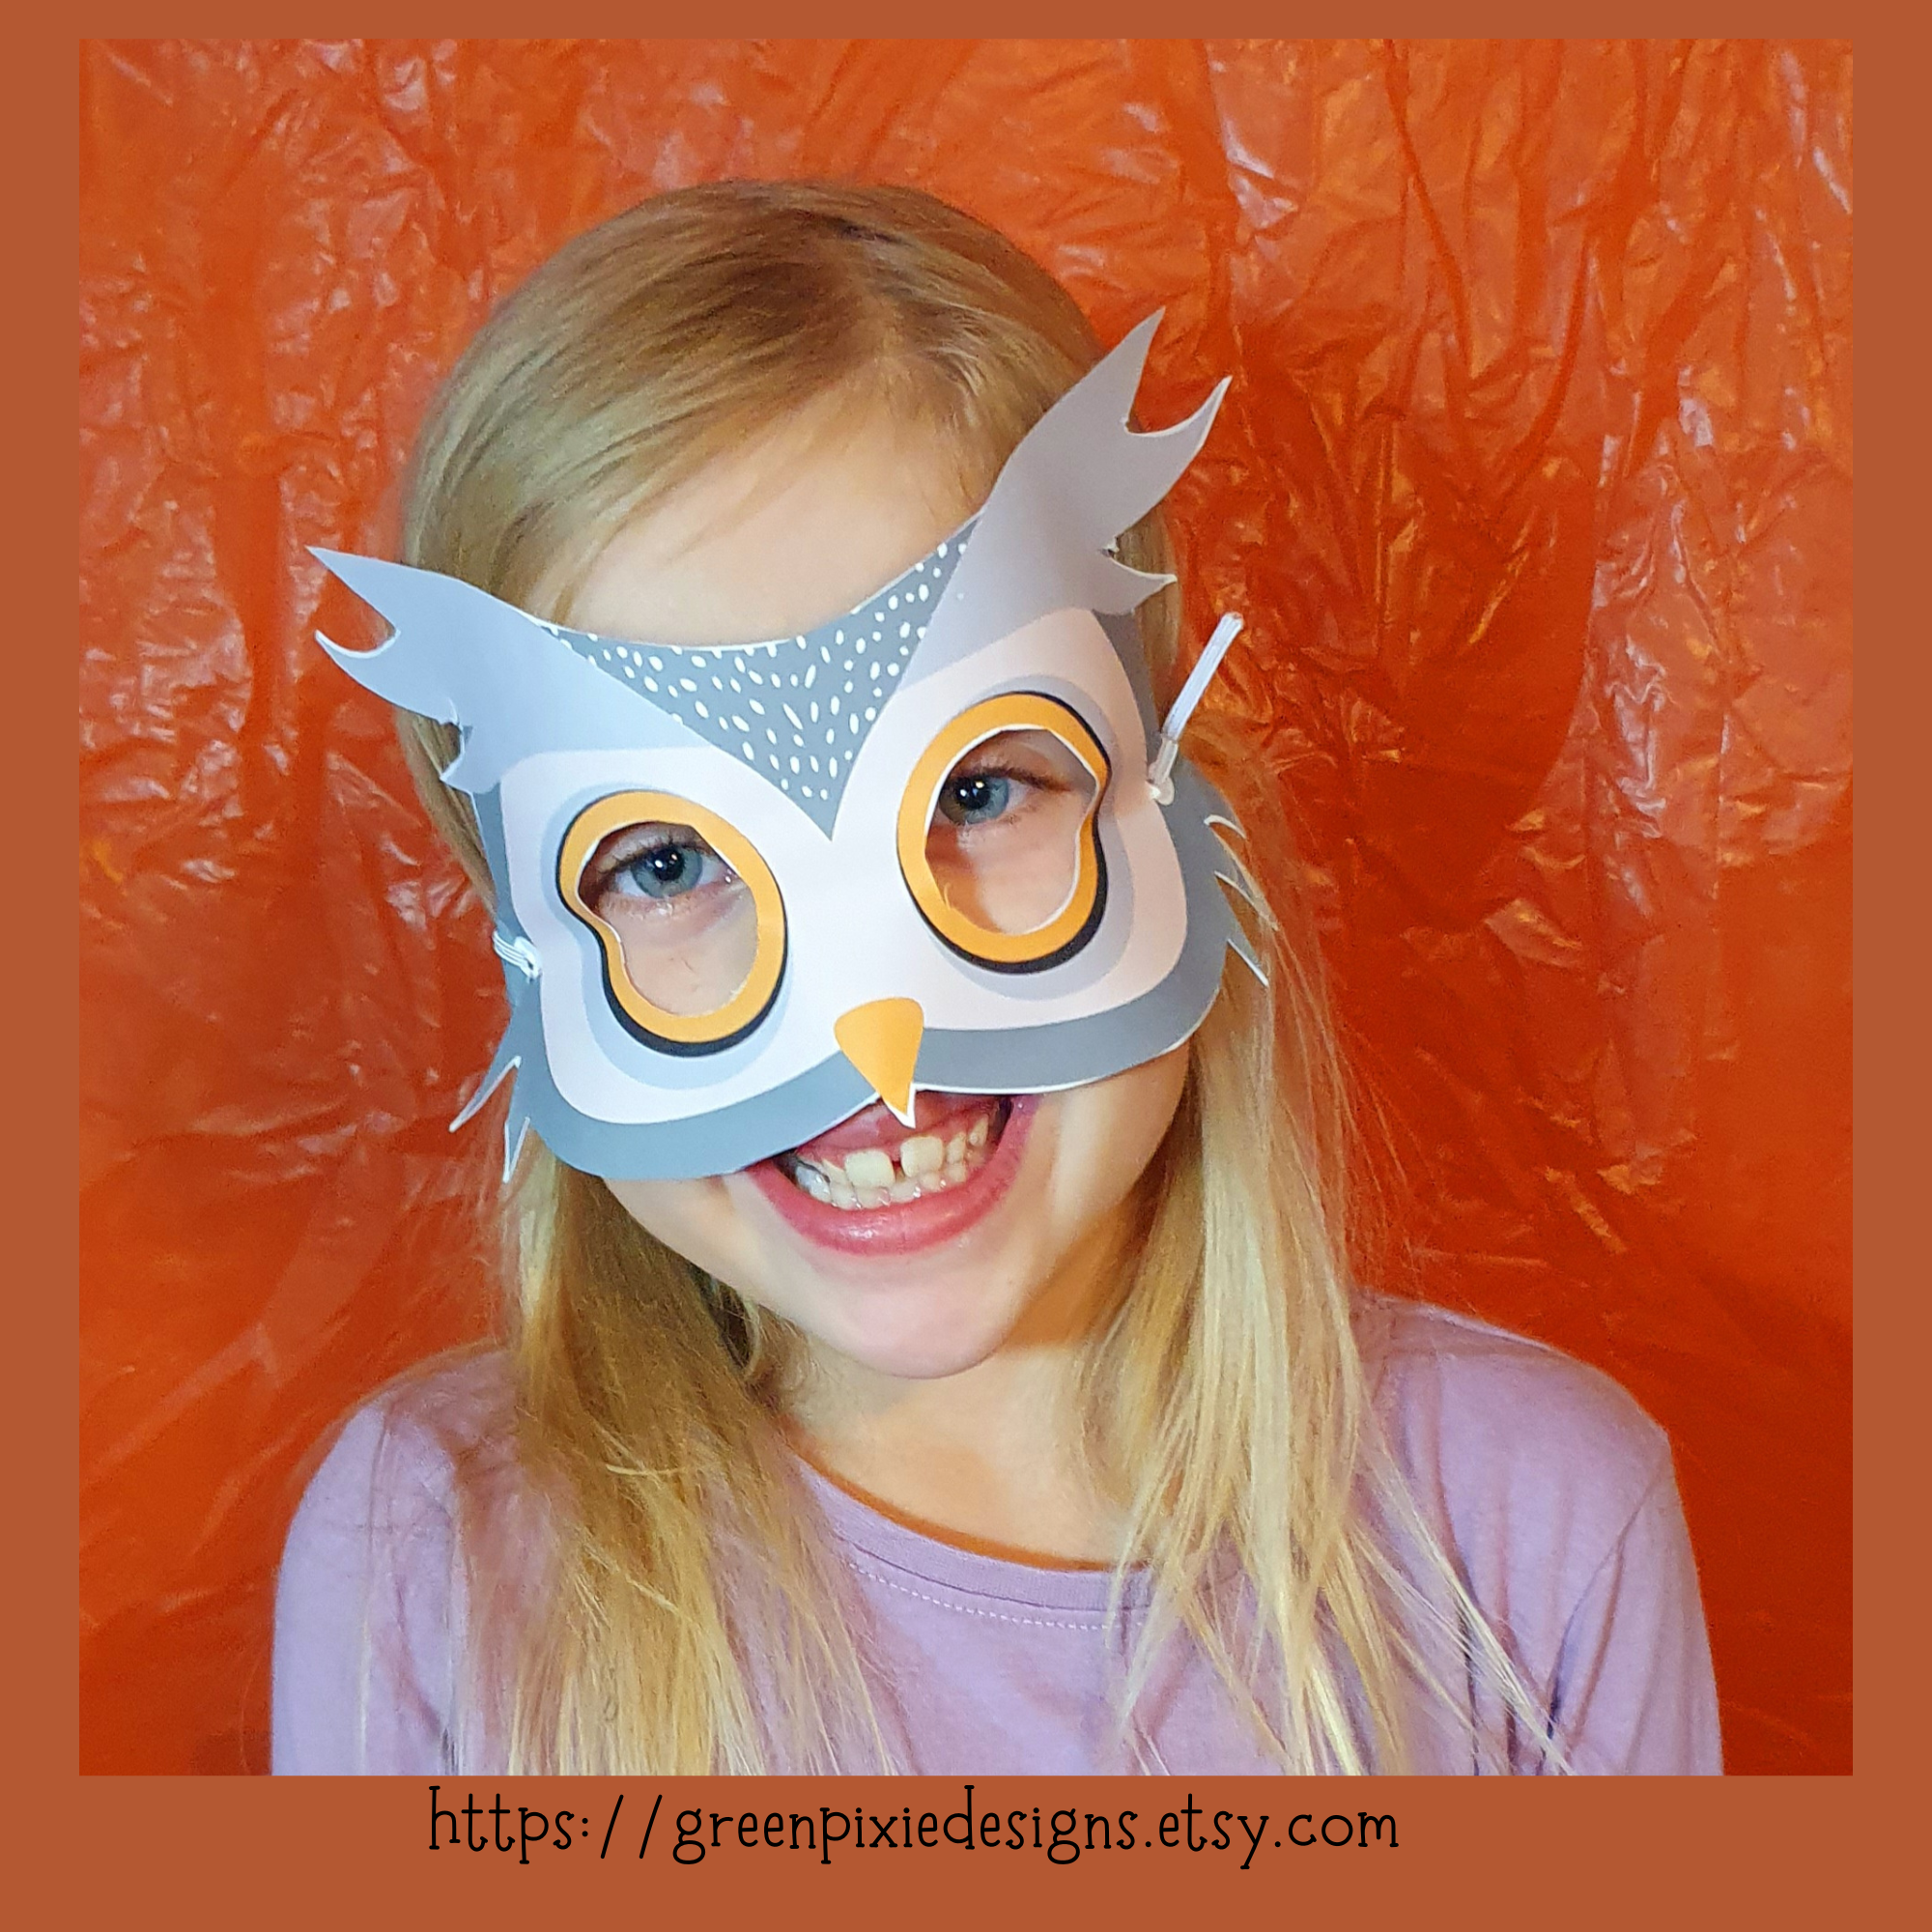
Look no further, how about making a printable DIY Woodland Owl mask?

Do you love DIY projects?
Are you looking for a fun and creative activity to do in your spare time?
If so, you’re in the right place! I have a wonderful project for you that will not only unleash your creativity but also provide you with a unique and personalized mask – an Owl Mask!
Everyone loves Owls, these majestic creatures are beautiful, and people have regarded these animals with fascination and awe thought-out history and cultures.
Owls have been feared and admired, considered wise and associated with witchcraft.
So why not make your own Owl mask, hours of fun of you and your family to enjoy and these masks are printable, so you can print off as many times as you need.
I also have many other Woodland animal masks in my Esty store, click here, why not collect them all, also these would be great for a Woodland theme birthday party.
This is an engaging, simple, and fun DIY project that you can enjoy by yourself or with your friends and family. So, let’s dive in!
What You Will Need
Before we start, let’s gather all the necessary materials. For this project, you will need:
- Printable Owl masks from Greenpixiedesigns

2. Thin Card Stock – make sure to check the size that can go through your printer. If you don’t have card stock, high-quality A4 paper will do just fine.
3.Scissors
4. Elastic cord or string
5. Optional, Why not decorate your Owl mask with feathers, fake fur or embellishments to make your Owl mask look even Owl-mazing.
Once you’ve gathered all your materials, we can start with the fun part – creating your owl mask!
Instructions
The first step is to download and print off the masks from the Greenpixiedesigns
Once you’ve done that, you can start cutting out the mask.
Be careful when cutting out the eye holes – you don’t want to accidentally poke through the mask!
Next, you’ll need to make small holes in the white circles on either side of the mask.
These holes are where you’ll thread the elastic cord or string through. Measure the elastic or string around the head of the person who will be wearing the mask.
Make sure to leave a few extra inches or centimetres for adjustments.
Thread the elastic or string through the holes on one side of the mask, then through the holes on the other side.
Before tying it off, double-check that it fits the head of the person who will be wearing the mask. Once you’re sure it fits, tie off the ends of the elastic cord or string, and there you have it, your very own DIY owl mask!

Enjoy Your Mask!
Now that your mask is complete, it’s time to enjoy it!
Whether you’re wearing it for a party, for a play, or just for fun, this owl mask is sure to be a hit.
Plus, since you made it yourself, it’s truly one-of-a-kind!
I also have lots of other Woodland masks to make, see below


You can also read and see some of my other blogs on how to make these amazing Woodland masks, here are a few.
Learn how to make a woodland squirrel mask
Learn how to make a woodland wolf mask
Share the Love
If you enjoyed this DIY project and love your new mask, I would greatly appreciate it if you could leave a 5-star review on my Etsy page. Your review would not only make my day, but it would also help my small business grow. Thank you so much for your support!
Happy crafting!
Suzanne,
Greenpixiedesigns