
Everyone loves Princesses, and princess castles, so why not make your very own affordable printable Paper princess castle.
So easy to make and comes with full instructions, hours of fun for every little Prince or princess to play with.

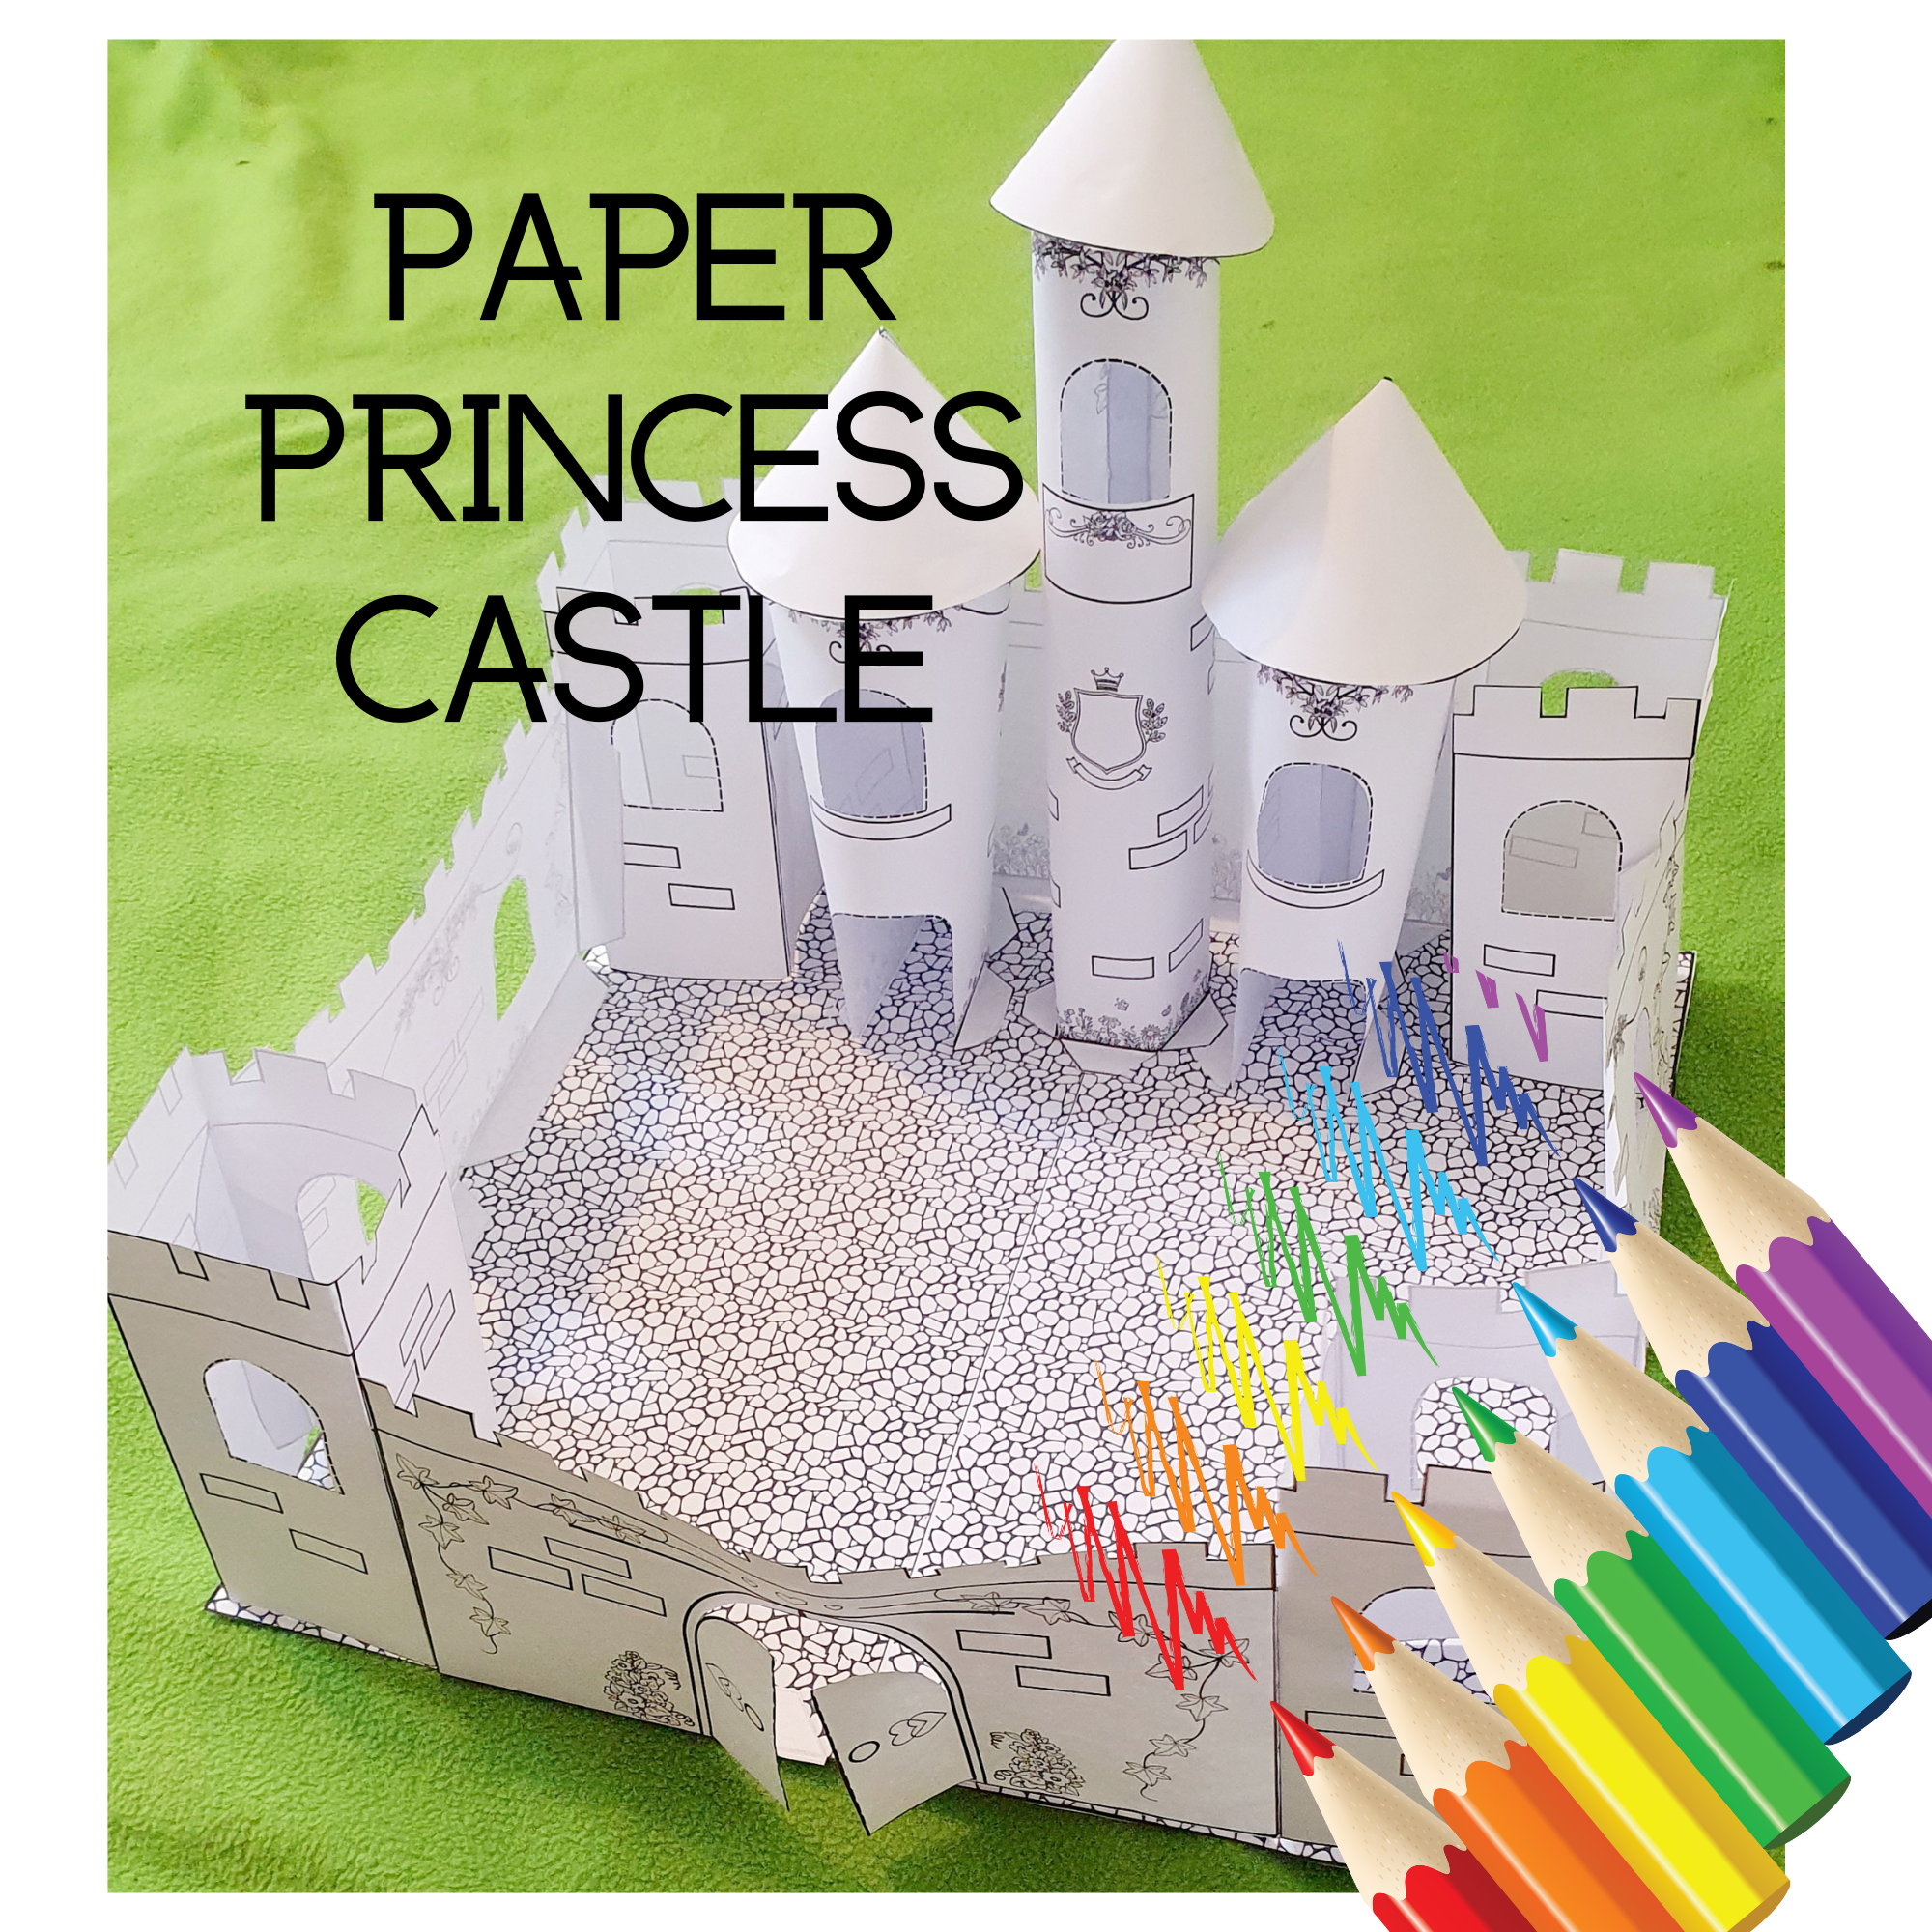
How to make a paper princess castle
This are the instructions for my amazing templates for making your own paper princess castle with castle characters.

This craft is aimed towards 5 years plus.
After you have downloaded the two PDF files, 1, 3D Paper Princess Castle 2, Instructions file on how to make this amazing Princess Castle.
You need to print off the 19 pages of Princess Castle templates from your device or you can take the file to your local printers.
Level, Medium (Some parts are fiddly and a adults help might be needed)
You will need
1,Printer
2,Quality A4 Paper or card stock, i recommend you use around 220gsm as this will go though most printers and will be easy to use for this project.
3,Scissors, you might find smaller scissors will be easier to use with some of the more fiddly parts.
4, Glue stick
5, Felt tips pens or colouring/coloring pencils I also recommend that a adult help and supervise your child with the cutting out and putting together of this Princess Castle.
Let`s start
First colour/color in your Princess castle templates or you can leave it black and white.
After this you can how make your princess castle.
1, Castle Floor Cut out castle floor 1 and 2 Glue together by using the tab which will go underneath on the other size.
When you have done this, you will see a black line going most of the way round. Next cut out castle floor 3,
Glue the bottom one to the top one on the right size, once these two pieces are glued together and will form one piece, glue it to the right hand side of the castle floor where there is no black line.

Next turn the whole floor around so the last piece of the castle floor you have just put on is furthest away from you. As this will be at the back.
2, Front Of Castle
Now cut out left castle tower 1 and 2, and middle castle front
Left and Right Castle Tower 1 and 2 Cut out the windows of the towers, to do this make a tiny slit in the middle of the window and cut around the broken line
Once this is cut out, fold the tower 1 on the black line, until it makes a cube shape, next fold the tag inwards, and glue the tag to the other side inside the tower.


This now should resemble a tower shape. Repeat this step for right castle tower 2.
Middle Castle Front After you cut out the middle castle front, cut the middle of the door and slightly around the edge of the doors at the top, so the doors can open, (DO NOT CUT ALL THE WAY AROUND)


Then bend the tags inwards, glue the left tag and attach to the front side of the tower, so the window is facing forward, and the picture of the vine is on the tower is on the outside.
Repeat this step for the front right tower to the middle front, now you should have one long piece.
Now glue the tags on the front of the middle section to the castle floor, the tags should be push backwards, make sure you align the positioning of the front piece to fit onto the castle floor before gluing down.
Sides Of The Castle
Cut out the middle castle left side and windows. Fold all the tags so they are inwards, now glue the right side tag to the left side front tower and glue to the castle floor. All pieces should be glued to the edge of the floor, to make one big square castle. Repeat this step for the middle castle right tower, but glue the left side to the right front tower. Now you will have the front and the sides of the castle.
Back Towers
Cut out the left and right back castle towers and cut out the windows. Glue the right middle side to the left back castle tower, and repeat on the other side, glue the middle size to the right tower castle, again the windows will be facing forward.
Middle Castle Back
Cut out the middle castle back, fold the tags inwards and glue to the two back towers as well as the castle floor, make sure it is on the edge of the castle floor.
Now you will have the main structure of your castle.
Left, Right And Middle Round Towers
Next cut out the Left, Right And Middle Round Towers and windows and doors on these towers.
Now cut out the left, right and middle tower tops
Fold and glue one side of the tops over the other until it reaches the dotted line, this will make a cone shape. Repeat with all three circles. Next take the left larger cone top and glue the tags at the top of the left round tower to each other.

First we start with the left round tower, glue the tag to the other side, you might have to squash it very gently to create a roundish shape. Bend the top tags inwards and the bottom tags outwards. Repeat with the right and middle round towers.
Cut out your castle characters, you will have four princesses, two princes, and two knights, and of course every princess needs a horse and carriage.
Castle Characters
Your castle is now complete, now to make the castle characters to bring your play castle to life.
Now the last step of making the castle is to glue the round towers to the back of the castle floor, make sure all the tags on the round towers are pointing outwards and glue down to the castle floor, place the tall middle tower in-between the left and right round towers at the back of the castle.
and press in place, try to get the cone top as centralised as possible, this can be a little bit fiddly. Repeat with middle and right cone tops.
Glue round towers to castle floor
Cut them out and cut up the broken lines, and cut out the rectangles, these will became the characters stand.

Fold the rectangle stands in half and place forward on your table to look like the letter V, put the characters on the stands, near the front and these will stand up The horse and carriage have got longer, larger stands as they bigger.
I hope you love making this 3D paper princess castle, don`t forget to tag me on instagram @Greenpixiedesigns as i would love to see your amazing castles.
You can buy these templates below
And why not follow me on esty as I have lots more paper crafts coming soon for you to enjoy and in my esty shop @Greenpixiedesigns.
Have a wonderful day
Suzanne
Greenpixiedesigns