Everyone loves Christmas and the holiday season will soon be upon us, this is a amazing time to spend with family, friends and loved ones.
And eat drink and be Merry, it can also be a very stressful and expensive time of the year for many families and kids seem to get bored pretty quick over the Christmas school holidays.
So how about getting your kids to make some easy printable crafts over Christmas to keep them busy?
These crafts are budget friendly, definitely won`t break the budget and are so fun and easy to put together, also did I mention that all the crafts are printable, just download and print off, so no waiting around for the post or having to rush around the shops, at a time that they are heaving with Christmas shoppers.
You just need paper, card, scissors and glue and craft away.
Hop over to my Esty shop to start getting crafty.
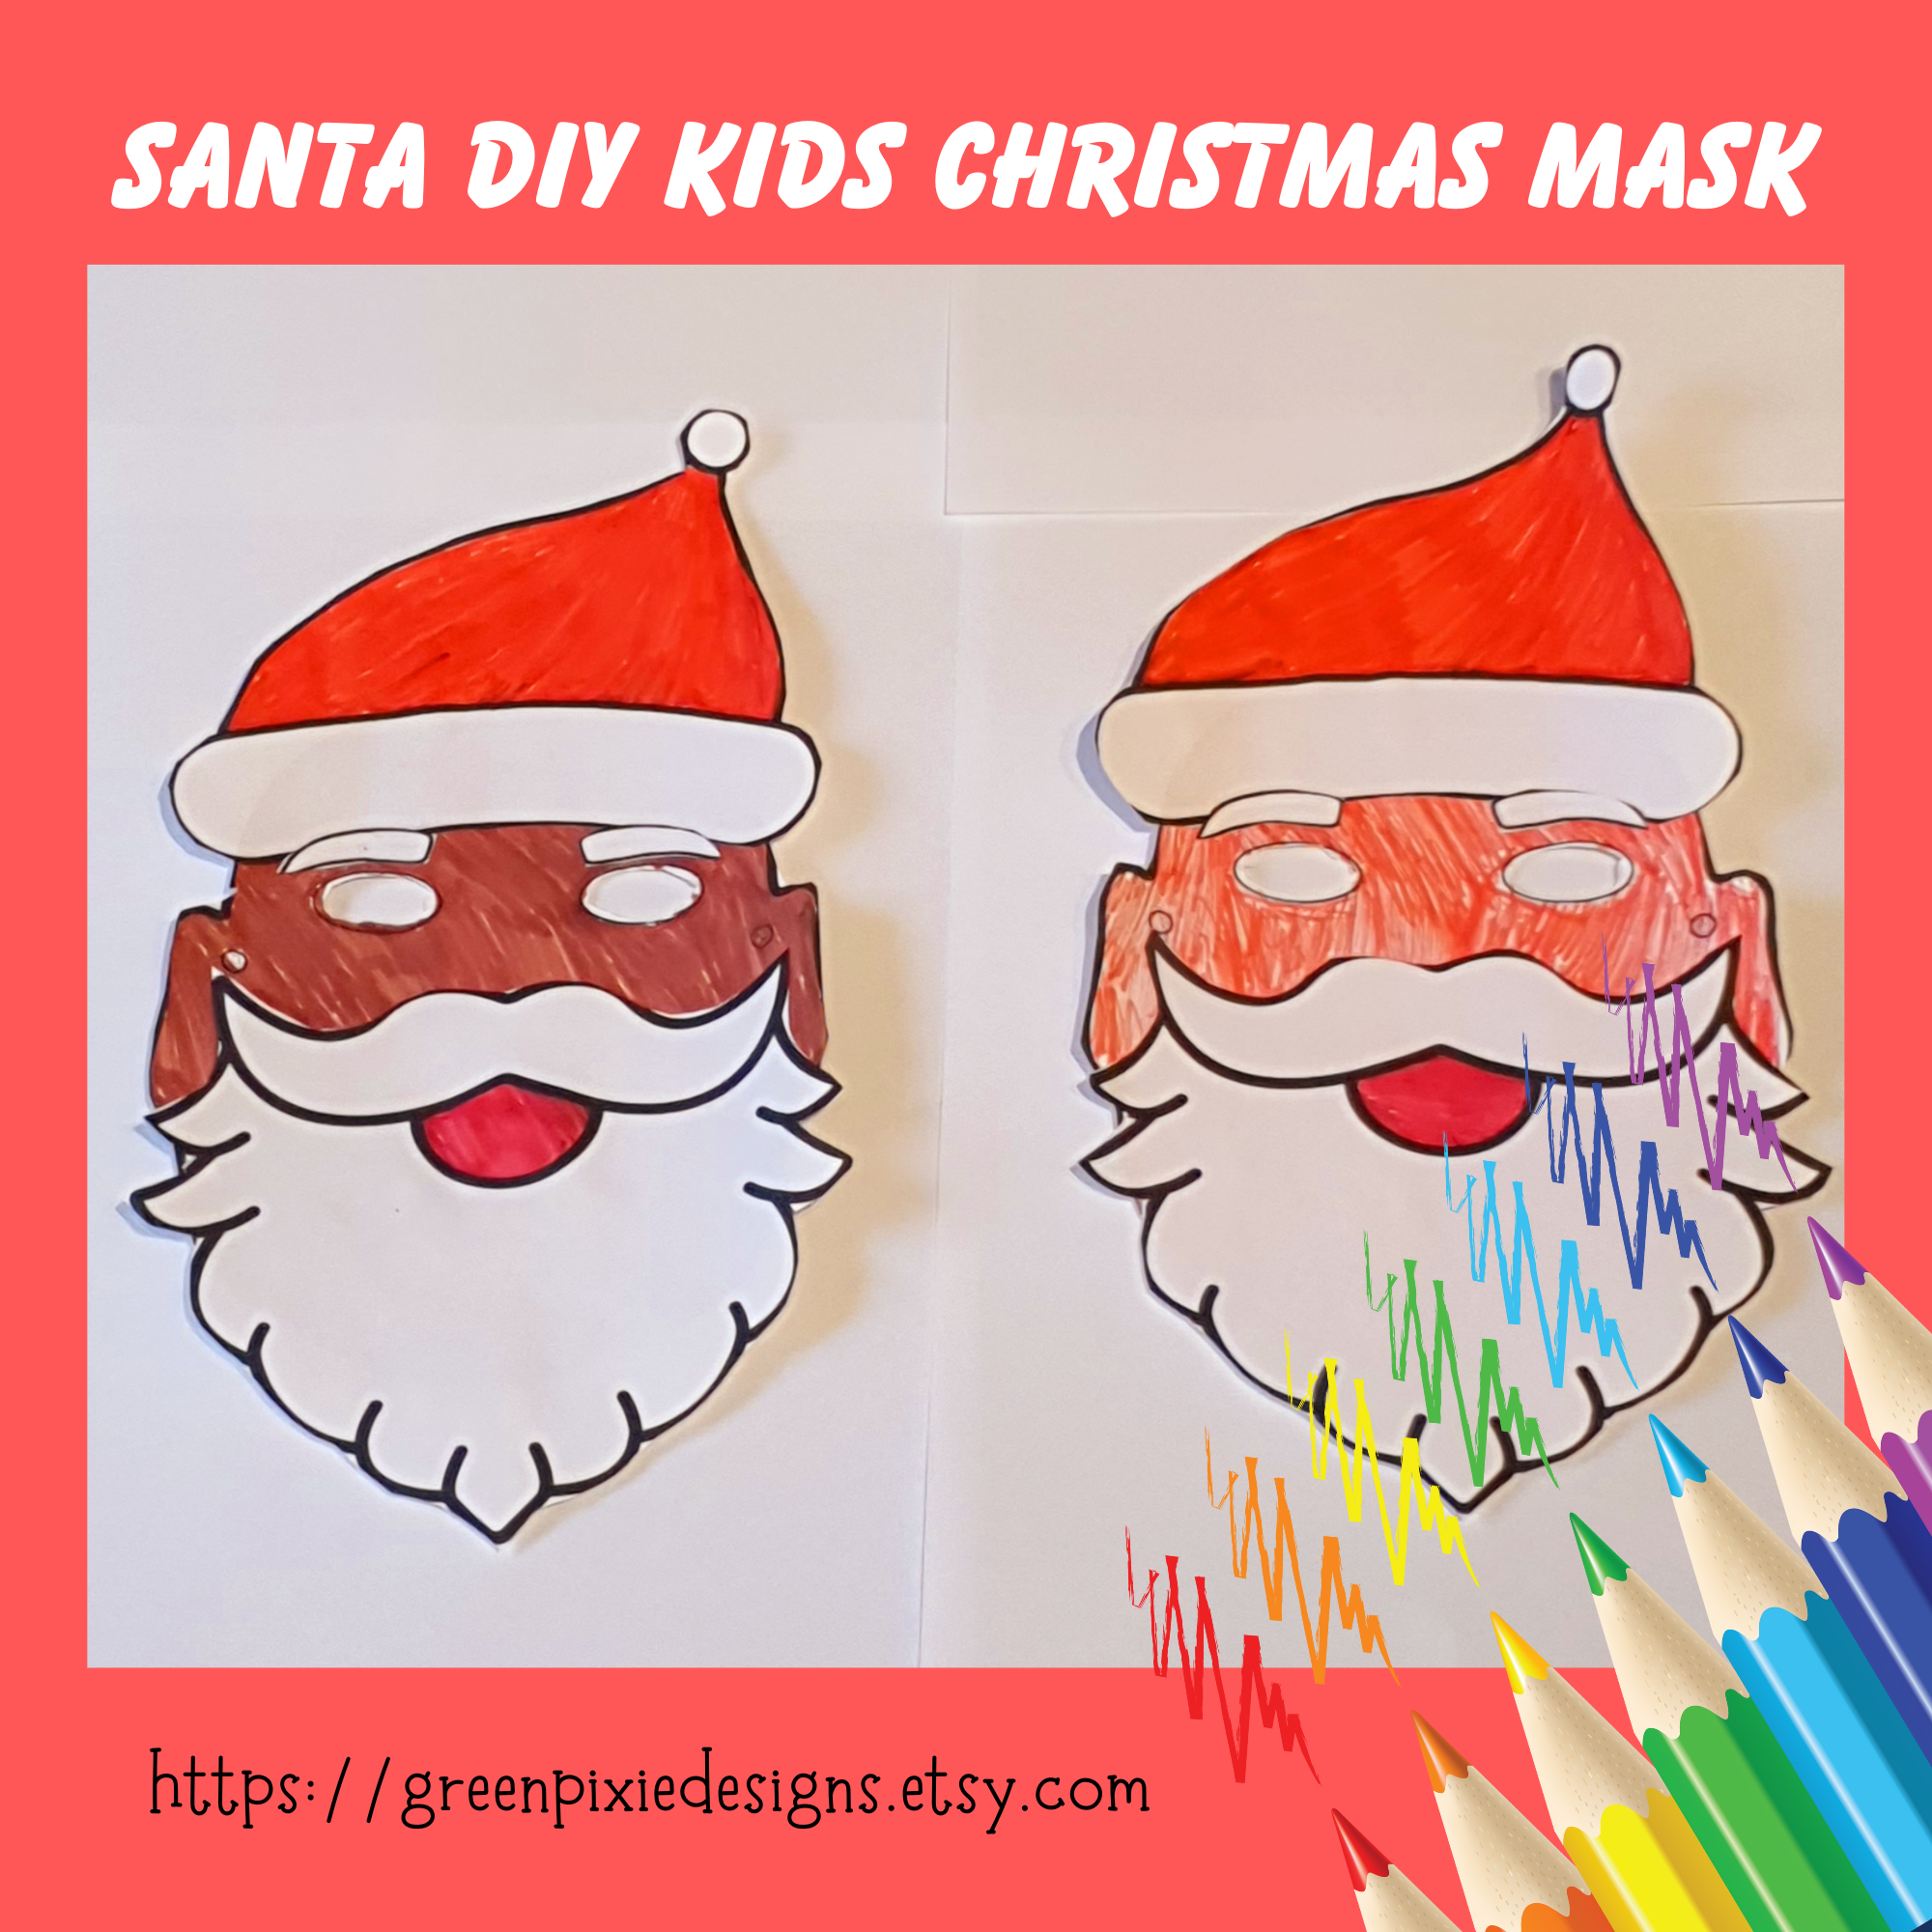
One of these many amazing printable craft is making your own DIY Santa Claus, easy as 1, 2, 3.

Kids will love making and having fun pretending to be Santa Claus/Father Christmas
Not only is it a great way to spend time with your family but it also allows you to add a personal touch to your holiday celebrations.
These Santa Claus mask can also be used as a Multicultural Santa, as we feel that it`s a good thing for kids to relate to more than your just your stereotypical Santa Claus.
In this blog post, I’ll guide you through the process of creating your very own Santa Claus mask.
So, let’s get started.
What You Will Need
Before we begin, make sure you have the following items:
- Printable Santa mask from
- https://greenpixiedesigns.etsy.com
- Card Stock (Thin) or Quality A4 Paper
- Scissors
- Glue
- Elastic Cord or string
- Felt tips pens or colouring/coloring pencils
- And optional cotton wool balls, embellishments, and glitter.

The Crafting Process
Now that we have all the materials ready, let’s move on to the exciting part – making the Santa mask.
Start by downloading and printing off the mask. Ensure to use card stock or quality A4 paper that can go through your printer. Once printed, carefully cut around the outline of the mask and the eye holes.
Next, make a small hole on either side of Santa’s face (in the small white spaces) to thread the elastic cord or string through later.
Then, get creative! Colour/color in Santa’s face, eyebrows, hat, and beard.
Cut out Santa’s face, eyebrows, beard, and hat.
Glue the eyebrows above Santa’s eyes, the beard on Santa’s chin, and the hat on Santa’s head.
Let your DIY Santa mask dry.

Finishing Touches
Once your mask has dried, thread the elastic or string through the small holes on one side of the mask, loop it around and thread it through the other side.
Measure the required length to fit around the head of the person who will be wearing the mask. Remember to leave a few extra inches or centimetres for adjustment.
To make your Santa mask even more festive, consider adding embellishments or glitter.

Then, enjoy wearing your mask!
If you would prefer a quick tutorial video, see below on how to put your festive Santa Claus mask together.

A Small Request
If you love this mask and enjoyed creating it, could I kindly ask for a 5-star review?
It would really help my small business grow and would only take a few minutes of your day.
Thank you for your support.
Enjoy your new Santa Claus mask and the festive season!
Happy crafting
Suzanne
Greenpixiedesigns

